I LOVE reconstructing second hand, and when I go to op-shops one of the most common things I see are wedding shoes. Creamy or ivory, white or beige, most often they have been worn once and then given away. Todays post is about being able to reuse these often FANTASTIC quality shoes without walking down the aisle yourself.
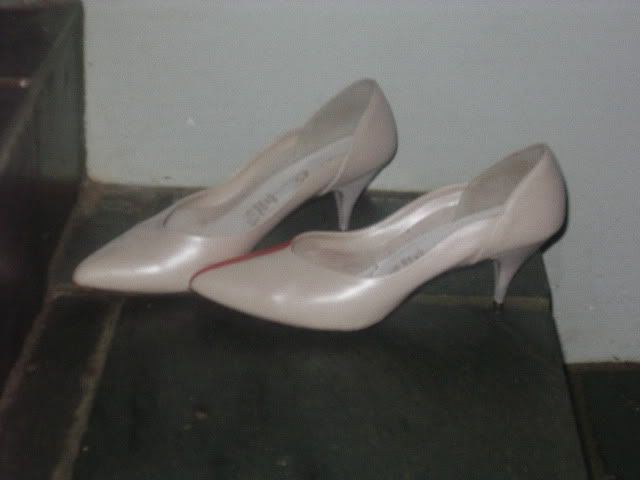
1. Find a pair of shoes that are comfortable, fit you, and are a nice style. I picked Australian made "Shoe Trix", as they had a mid-sized heel and had really cool scalloped detailing. Unfortunately the toe-open line was rather strange, but that was fixed during the reconstruction!


2. Sand your shoes with a VERY fine grain paper, or if you are using high quality acrylic paints, don't sand at all.
3. Clean with a damp cloth.
4. Paint your shoes with a fine paintbrush and quality acrylic paints, this way they do not crack, fade, or show paint streaks. Alternatively, you could spray-paint them. I chose to paint mine Fire-Engine Red with black Heels.
5. Next I found a wide piece of black ribbon, and glued the ribbon in place along the front of the shoe to hide the strange toe-line. Use a fabric or gummy-type glue, and run your fingernail along where the shoe meets the sole to make the ribbon look attached underneath. Then get a scalpel and cut the end of the ribbon off at the join where you have just run your fingernail across. Do this for the other shoe too!
6. Make a bow out of more black ribbon, and sew it with a thread to the ribbon on the shoe, place it where ever you like, centre and slightly out of centre look the best.
7. Go walk around in your beautiful shoes!


No comments:
Post a Comment